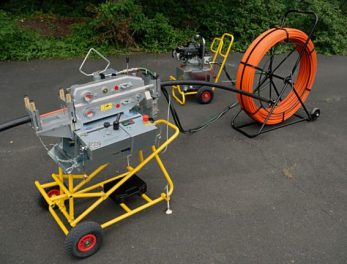
In our first installment, we introduced the microduct override process of installing a new microduct in an innerduct occupied with an existing fiber optic cable. A single microduct or multiple microducts can be placed at one time during an override operation. We also outlined the major pieces of equipment required in an override including the Junction Box. In this installment, we’ll discuss the Junction Box and the other microduct blowing accessories required for a microduct override operation.
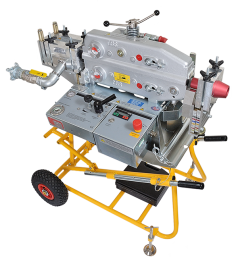
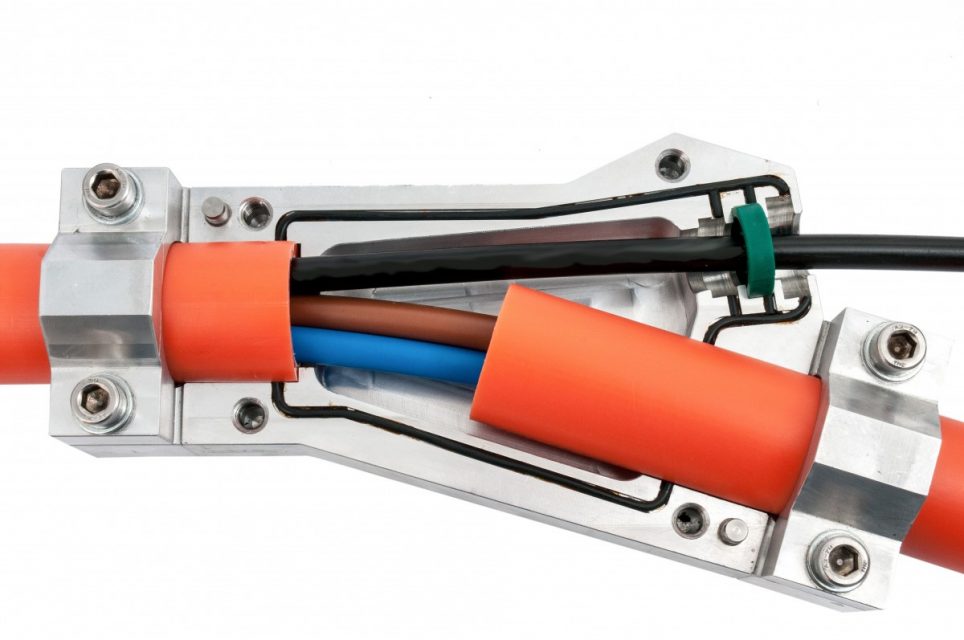
The junction box or “J” box (pictured above) provides the insertion point for the new microducts into the existing occupied pathway. The precision machined aluminum base and lid form a chamber, capable of being pressurized during the override operation, into which an occupied innerduct is attached. The existing cable is routed through a cable seal and out of the junction box. The other branch of the junction box is connected to a short length of innerduct connected to the Tornado Cable Blowing Machine. The route from the Tornado cable blowing machine into the occupied pathway is continuous and complete.
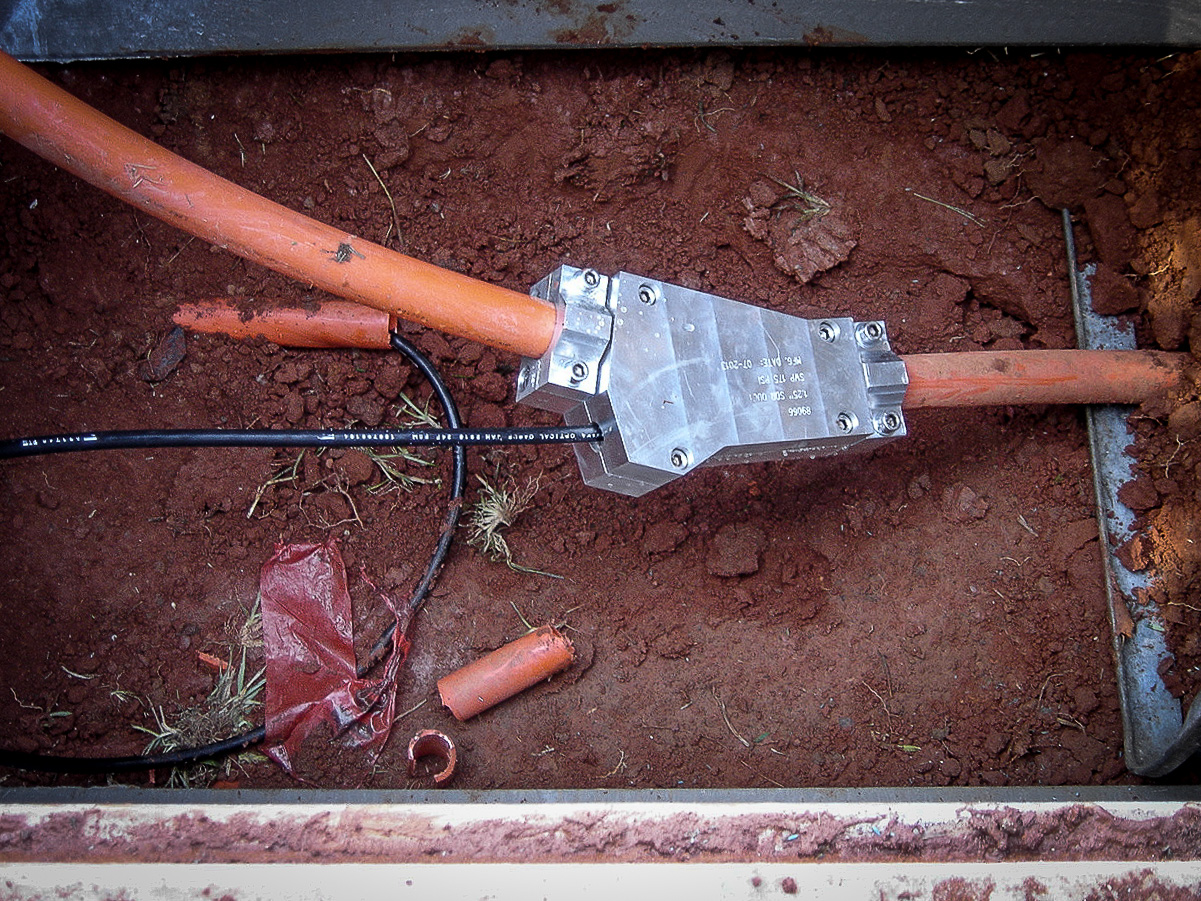
Here’s a photograph of the J-Box in an actual field application. Note the fiber optic cable exiting the J-box and continuing on its way to the other piece of innerduct.
There are a number of accessories that are required to pressurize a microduct before it is used in the override operation. The microduct plug is installed on the leading end of the microduct. There is a seal to help keep the pressure in the microduct while the threaded end keeps the plug securely attached to the microduct.
The pressurization connector is used on the opposite end of the microduct. The pressurization connector has a push to connect fitting for attachment to the end of the microduct. There is a Schrader valve at the other end of the connector to accept an air chuck. The larger pressurization connections have a quick disconnect and ball valve connection.
The microduct pressurization kit is used to pressurize smaller microducts at one time. The pressurization kit’s Chicago fitting connects to the hose from the air compressor and there are air chucks on the end of the coil hoses to connect to the Schrader valve in the pressurization connectors.
The microduct should be pressurized to approximately 100 psi before it is blown thru the pathway. The pressure gauge with a snap-on chuck can easily determine the internal pressure in each of the smaller microducts prior to the override operation. The pressure in the larger microducts can be checked by using the gauge with the quick disconnect.
Be on the lookout for Part 3 of our Overriding Microduct Blog! We’ll be discussing the various microfiber cable blowing machines used to install the microfiber cable into the microduct that was placed during the override operation.